Simple Test for Garden Soil Nutrients
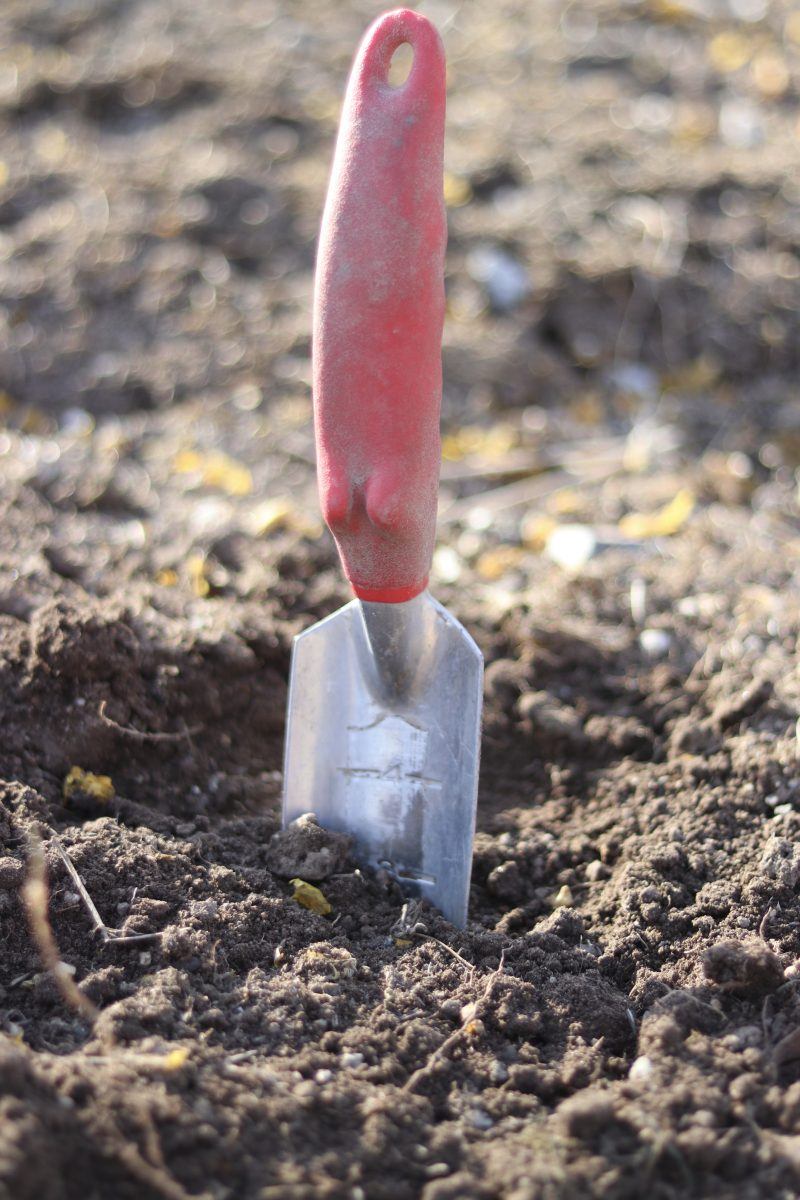
Essential beginning step
A simple test for garden soil nutrients is an essential beginning step to a fabulous gardening experience. I want to share my experience so that you, too, can have a great start in gardening. A test like this is recommended every 3 to 5 years to inform you of your soil’s nutrient-supplying capability so that you can accurately fertilize only what’s needed.

The test
With so many choices for soil tests, I needed some direction. Chelan County Master Gardeners offer a list of soil testing companies. I’ve included a link to this list. Searching through these options, my priority is to find a test for my soil’s intended use, which is an organic vegetable garden. This test, Soil Savvy, does just that. Using a lab, the test assesses macro and micronutrients and pH, then supplies an organic fertilizer recommendation.
The most common nutrient deficiencies in the Pacific Northwest would be one of the primary three macronutrients, nitrogen (N), phosphorus (P), or potassium (K). This test gives you an analysis of these three macronutrients, plus magnesium (Mg), sulfur (S-SO4), and sodium (Na).
The most common micronutrient deficiencies in our area are zinc (Zn) and boron (B). The Soil Savvy tests six micronutrients, besides zinc (Zn) and boron (B), and pH. The soil pH is another important component to assess the relative acidity or alkalinity of the soil. Soil pH is important for nutrient availability, toxic metals, and microbiological activity. A good pH level for vegetables is between 6 – 7.5.
Collecting the soil
In this video, I collect a small sample from each of my ten raised beds. I mixed the soil samples to get a general representation of all the beds combined. Oh ya, that’s my gardening assistant Emmylou in the background running back and forth.
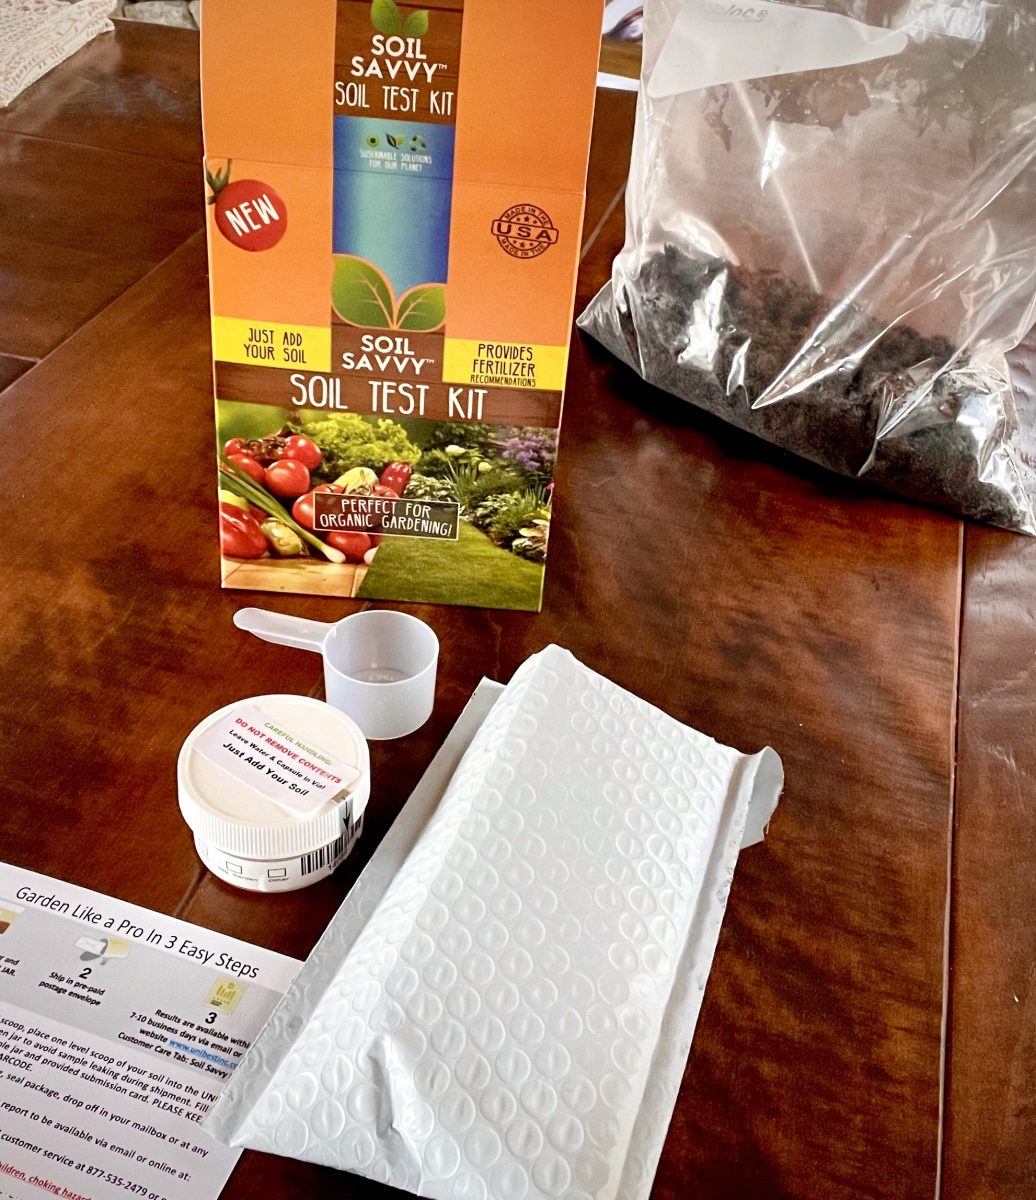
Everything needed to complete the soil testing process is in view. The kit includes a prepaid mailing envelope, a measuring scoop, a soil sample container filled with liquid with a preservative disc—Walkthrough the steps with me.
Step 1
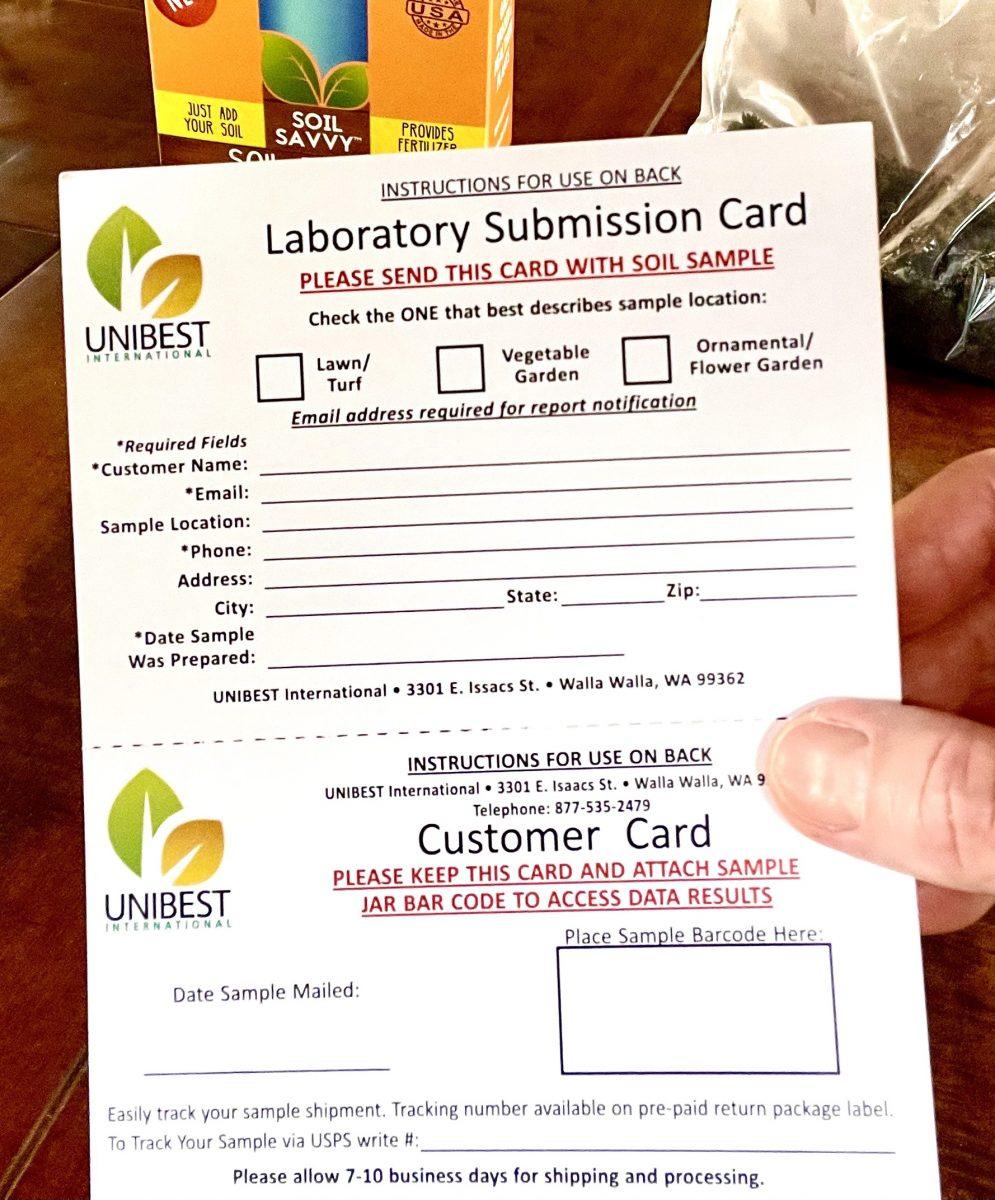
I complete this two-part form. The top half goes with my soil sample so the company knows my intended use of the soil. I include all of my contact information so they know where to send my test results. The lower half is for me to keep so that I can track my sample.

Step 2
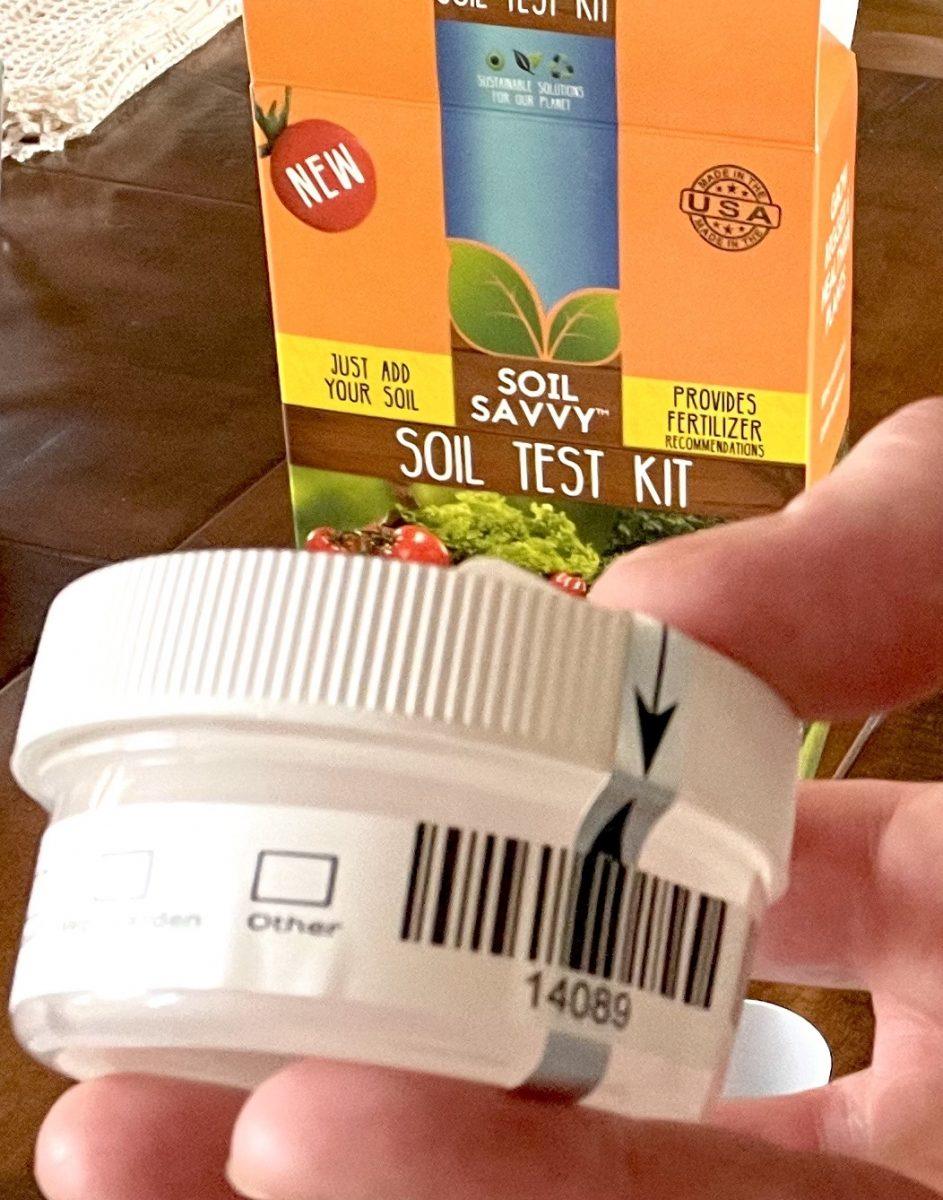
The soil container has two copies of the same barcode to let me keep one for tracking my sample. I peel off the code outside of the container and add it to my Customer Card for later reference.

I’ve attached the code to the lower half of the form
Step 3
The container has boxes that you mark to identify what the intended purpose for the soil will be, such as garden, lawn, flower bed, or other.
As you can see in the video the soil sample container has liquid and a disc. The liquid and disc in the container stabilize and preserve my soil sample in transit.
Step 4
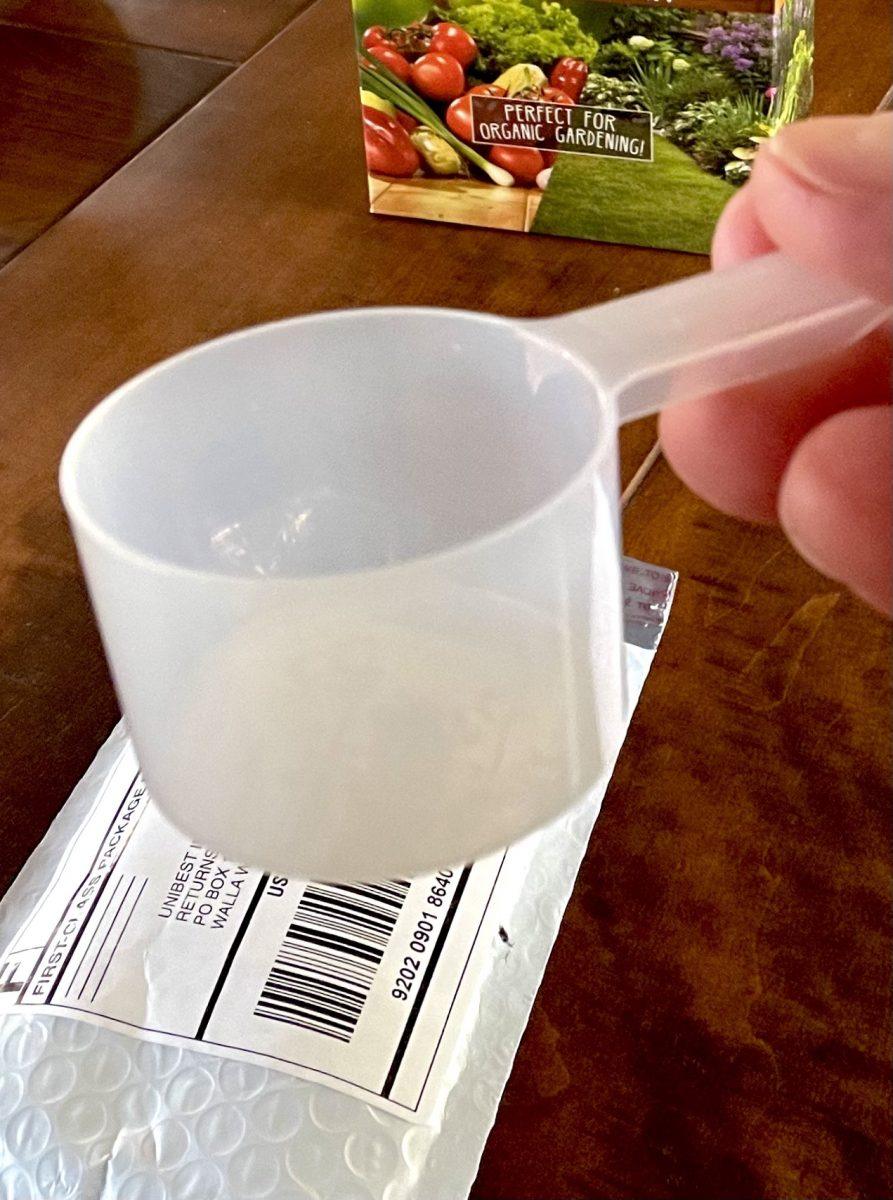
I use the scoop included in the kit to measure this specific amount of soil from the mixed bag of soil I collected.

Step 5
The company provides a prelabeled envelope that doesn’t require postage. Once I mail the package, I will get a notification through email in 7-10 business days.

Interpreting the results
Here is a copy of the test results for my garden. The NPK fertilizer recommendation is highlighted in the yellow section offering a synthetic and organic version. The recommendation of 13-0-0 refers to the amount of each of the three primary nutrients in the recommended fertilizer. Labels on fertilizers tell the amount of each of the three primary nutrients in the fertilizer expressed as a percentage of the total fertilizer weight. Nitrogen (N) is always first. Phosphorus (P) is second, and potassium (K) is third. My NPK fertilizer recommendation for organic fertilizer says 13-0-0@ .5 lb/100 sq. ft. Apparently, my soil doesn’t need any more phosphorus or potassium. As you can see, I’m slightly below the target area with nitrogen. Last year I harvested and removed lots of vegetables, depleting the soil’s nitrogen. In consulting the Home Gardeners Guide to Soils and Fertilizers, I see that a good source for 13-0-0 fertilizer is blood meal. Each of my raised beds is approximately 4’x12′ = 48 square feet, which would require ~.25/lb per bed. I will need a total of 2.5 pounds of organic nitrogen fertilizer to divide and spread on my 10 raised beds.
Most of the micronutrients are within the acceptable range. The zinc (Zn) and copper (Cu) are above the targeted amounts, which is OK. The pH is a little acidic but acceptable at 6.31.
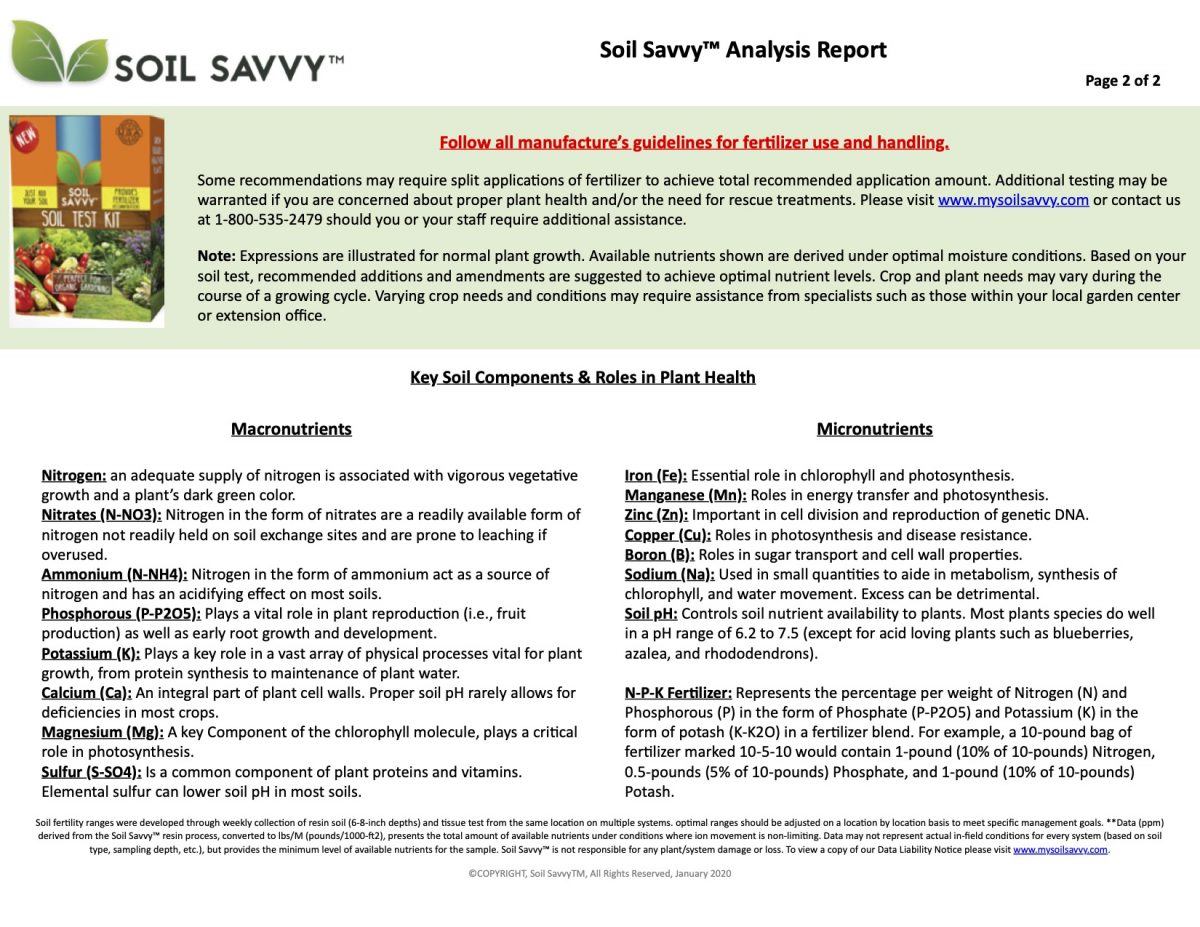
The report’s backside provides a handy resource of the listed macro and micronutrients and their corresponding chemical symbols.
My plan
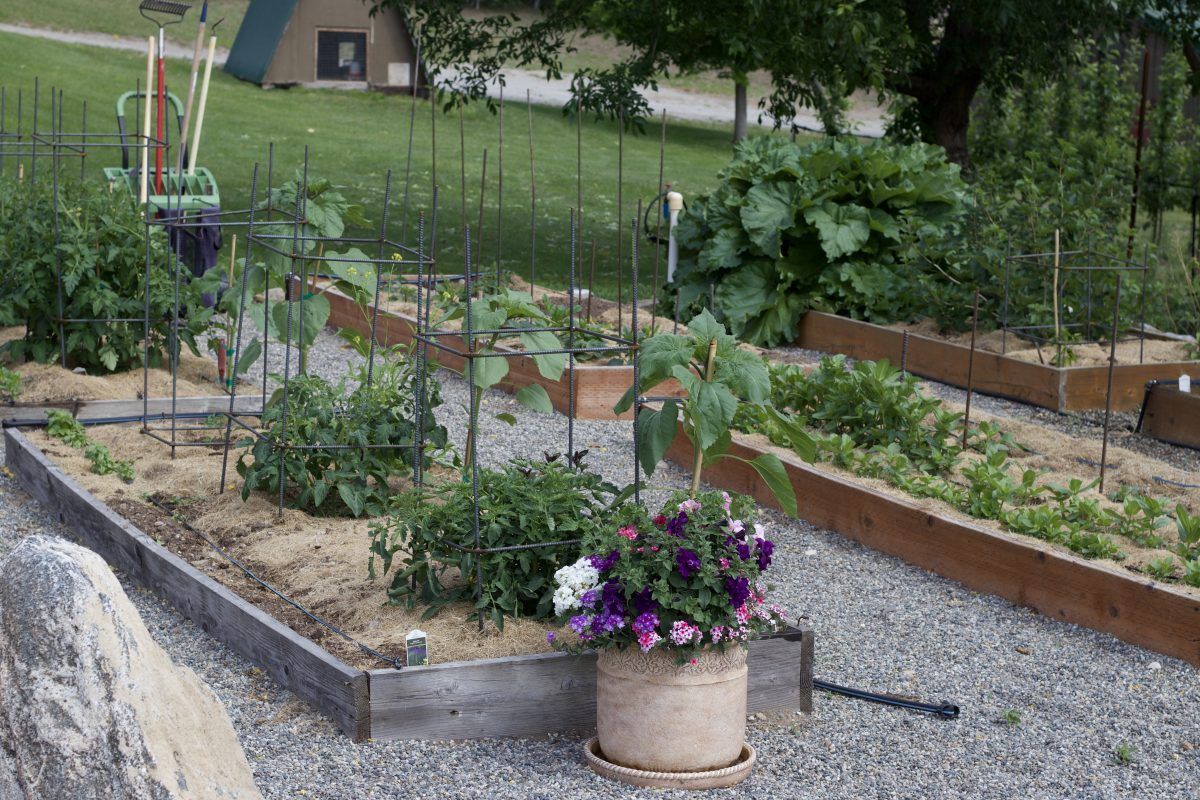
Using organic fertilizers in my garden, I’m promoting the soil’s health in many ways; improved water movement, providing organic matter and structure to the soil, and feeding beneficial microbes. Last year I added several inches of compost to each of my beds before planting. The beneficial microbes from the compost consumed the soil through the year, causing soil in the bed to “shrink.” I’ll add more compost this year to promote ongoing soil health, understanding that compost releases nutrients slowly as natural processes over time occur. I’ll add the recommended amount of blood meal to get the nitrogen content up this summer for the ideal soil nutrient levels.
I have big plans for another momentous year of delicious vegetables. Adjusting my soil amendments based on lab results from a reputable company will ensure that all the money and time I spend on my garden is worthwhile. The successful harvest means I’ll have plenty of fresh organic vegetables for my family and a lot more to share. With just the right amount of organic nitrogen, all these vegetables are possible, plus I have the peace of mind that I’m preserving water quality by not over-fertilizing, which causes excess nitrogen to leach into a water source contaminating our lake or river.